Make sure that the figures in Billoid are updated before you start generating credit notes. There are two ways to synchronize the data from the adtracking system:
- "Standard Sync" --> Adtracker tab > Get New Data
- "Partial Sync" --> Adtracker tab > Partial Sync
The "Standard sync" will include employee, advertiser, affiliate, stats and pending conversion data. This sync might take a while, depending on the data volume. If your customer data is up to date you can save time with the "partial sync" by just pulling stats and - if necessary - check the pending conversions.
Go on with the credit note generation as soon as the sync is finished. Basically there are two ways to generate credit notes:
Batch process
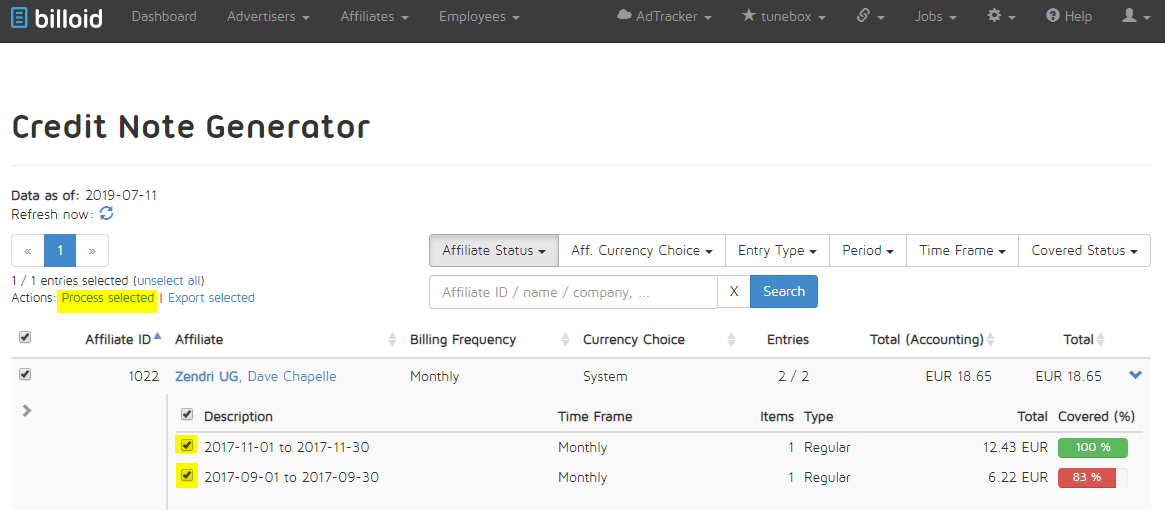
With this function you are able to generate 1 or more credit notes in only one step. Go to the Affiliates tab and click “Generate Credit Notes”. This is the section where all the items are collected that are up for billing. You can see that there is one line for each affiliate. On the right side of the page you are able to go more into detail to see all entries of one affiliate.
Mark all the affiliates or entries you want to invoice and click on “Process selected”. The job is now running in the background what usually takes just a few minutes. In this time you are able to go on working with the system.
Now you can have a look into the job log after getting the info that the job is finished. Go to the “Job” tab and click on the finished job.
There are now two possibilities what the system tells you:
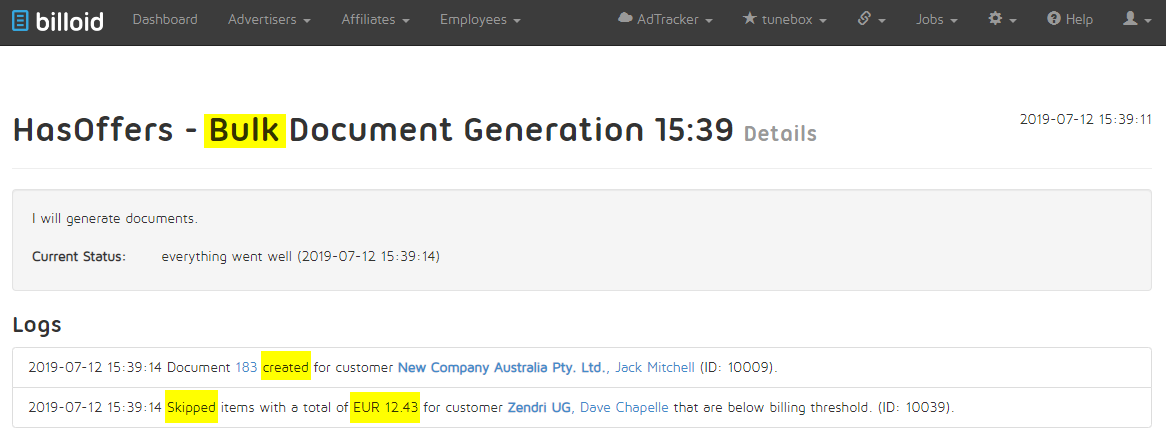
- “Document 123 created for …” → the credit note has been created and will now occur in the “Credit Note List”
- “Skipped items with a total of…” → these items are not created because of the billing threshold. If the amount of an item does not reach the limit of the billing threshold the system won´t generate the document. In this case the item will stay in the credit note generator waiting for further items to reach in sum the total of the billing threshold. If you want to payout an affiliate with a low value anyway (e.g. you are ending business with this advertiser) you can force the invoice generation through the manual way.
Manually
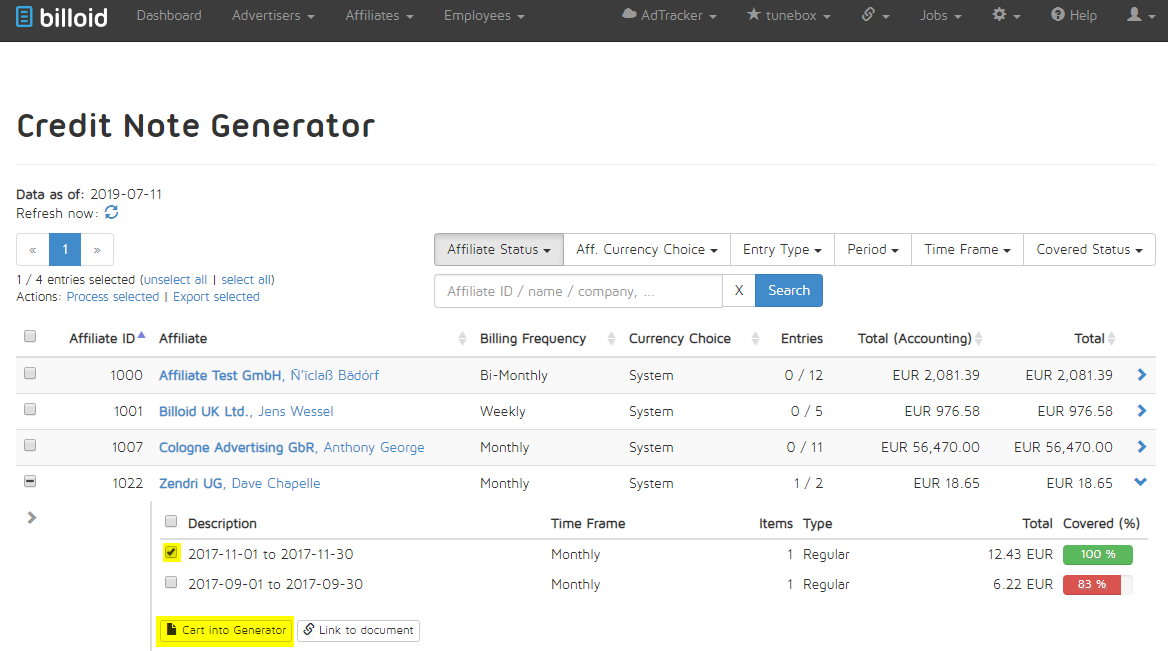
You can choose the manual way for generating credit notes too. Mark one or more entries of one affiliate that you want to invoice and click on “Cart into Generator”. On a first view you can see now all the pre-settings of this affiliate. You are able to modify these for this individual credit note. Scrolling down to the bottom of the page you can see the credit note items (lines). Here you can modify all the fields (e.g. item description, single price, No. of units) or add lines like a bonus payment or discount.
If you want to save your modifications as a draft click “Save draft” but if you want to generate the credit note click on “Create”.
Click here to get more information if you want to create a custom credit note within a creditor profile.